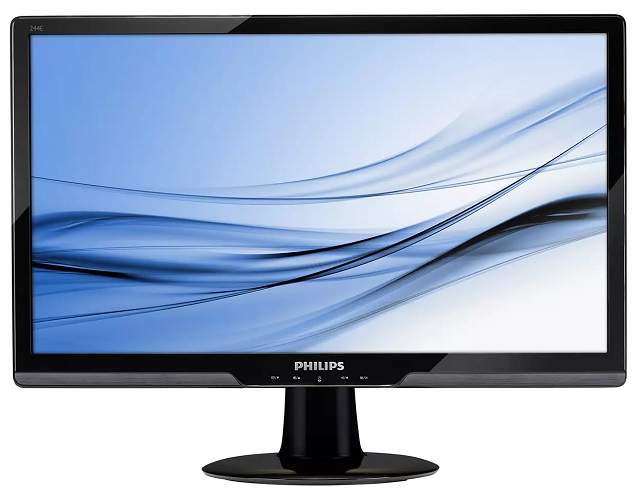
What is HDMI Scaling? Connecting an HDMI display to AMD Graphics does not let the picture scale correctly to fit the display’s whole screen area. As a result, you can find the picture over-scanned or under-scanned. Hence, you should know that a picture is called under-scanned when it has a smaller size than the screen’s physical area. It creates a black border around the image.
On the other hand, a picture is called over-scanned when it expands beyond the screen’s physical area. You can’t see the picture portions which extend beyond the screen edge. People can use the HDMI Scaling option within Radeon Settings to troubleshoot the problem of overscan or underscan.
What does HDMI scaling do?
Its function is to distribute one HDMI source to one HDMI display. You should know that the scalar can support video sources up to 4096 x 2160 @ 60 Hz, 12-bit color, and HD audio. In addition, it can upscale up to 3840 x 2160 @ 60Hz and downscale to 1024 x 768 @ 60Hz.
How can you fix over-scaling?
Sometimes, you can find HDMI scaling not working. From quickest to more advanced, these are the most effective ways to troubleshoot the over-scaling issue.
- Disconnect and reconnect the HDMI cable.
- Adjust the TV’s display settings.
- Change the Windows 10 screen resolution.
- Use Windows 10 display scaling.
- Manually adjust your monitor’s display settings.
- Update your drivers
- Update Windows 10.
How can you adjust the Image using HDMI Scaling?
You must follow these steps if you are willing to adjust the screen picture with the help of the HDMI Scaling option within Radeon Settings. In this case, the notable thing is that you can see HDMI Scaling at 0% when the picture is under-scanned, and you are unable to adjust it to fill the screen area. You must ensure that the Image Size option is set to Normal or Auto in the display’s on-screen menu. If necessary, check the display’s user manual for more information.
- You need to right-click on the desktop first to open Radeon™ Settings. Then, you should choose AMD Radeon Settings.
- Now, your task is to select Display.
- Ensure that the HDMI scaling needs to be proper. Its default value should be 0%. The slider allows the HDMI scaling to adjust.
- After that, your task is to move the slider for adjusting the picture until it fits the whole screen.
- Finally, you should shut down Radeon Settings when done.
Conclusion:
If you are willing to use HDMI Scaling, it must meet the following conditions. Otherwise, you can see the scaling option greyed out. It is essential to connect the AMD graphics product to the HDMI display using one of the following:
The display is needed to set its refresh rate and native resolution. You should refer to the display’s user manual to get details regarding the specifications. It is advised to install an supported as well as latest AMD graphics driver for the AMD Graphics product.


